by Linda Theil
May 24, 2018
GAAQG member Jan Roys taught a very popular demonstration of how to apply a two-color binding to a quilt project at the guild’s May 19, 2018 Quilt Day meeting.
She learned the technique from an unidentified magazine article featuring the work of quilter Dorothy Hook.
“[Hook] is the one who created the two-color binding ‘. . . when she was short of a single print to complete a project,’ ” Roys quoted from the article.
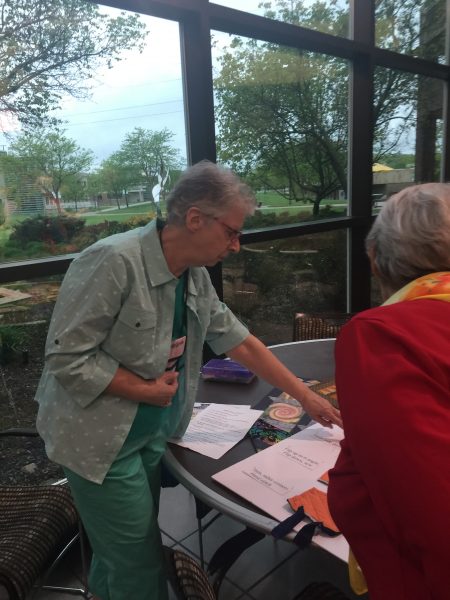
Roys created her own directions for the free demo on quilt day, and gathered an enthusiastic crowd of quilters eager to earn the method.
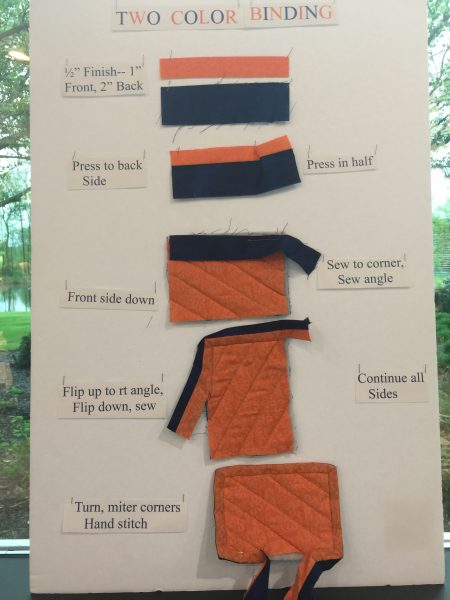
How to make a two-color binding
by Jan Roys
- Use this method if you have extreme fabric difference front and back, and want a cohesive look on both sides.
- Caution — this method is not not good to use on a project that will get heavy use because the seam on outside edge makes a weak binding.
- Length of binding equals the circumference of your quilt plus 12-inches
- You can vary the width of the binding according to your own wishes. For binding of finished size 1/2-inch wide:
Front color width — size desired (in this case, 1/2-inch wide) plus 1/2-inch. In this case the width of the front color binding will be one inch: 1/2-inch finish equals 1/2-inch plus 1/2-inch
Back color width — three times size desired (in this case, 1/2-inch wide) plus one-half inch. In this case the width of the back color binding will be two inches: 1/2-inch times three equals 1-1/2-inch plus 1/2-inch equals two inches wide for the back binding. - Sew right sides of binding strips together using a short stitch length. Thread should match the back fabric.
- Press the seam toward the back binding strip.
- Press the binding in-half with wrong sides together and edges matching.
- Place binding with raw edges together lining up raw edges on binding and quilt, pin and carefully mark 1/4-inch from front edge.
- Sew to 1/4-inch mark, pivot to 45-degree and sew off corner.
- Fold binding upwards to front edge forming a perpendicular line on left edge. Fold downward making sure you are at the front edge, not the outside edge.
- Pin and sew as before until all four edges are done.
- Finish biding with your favorite technique.